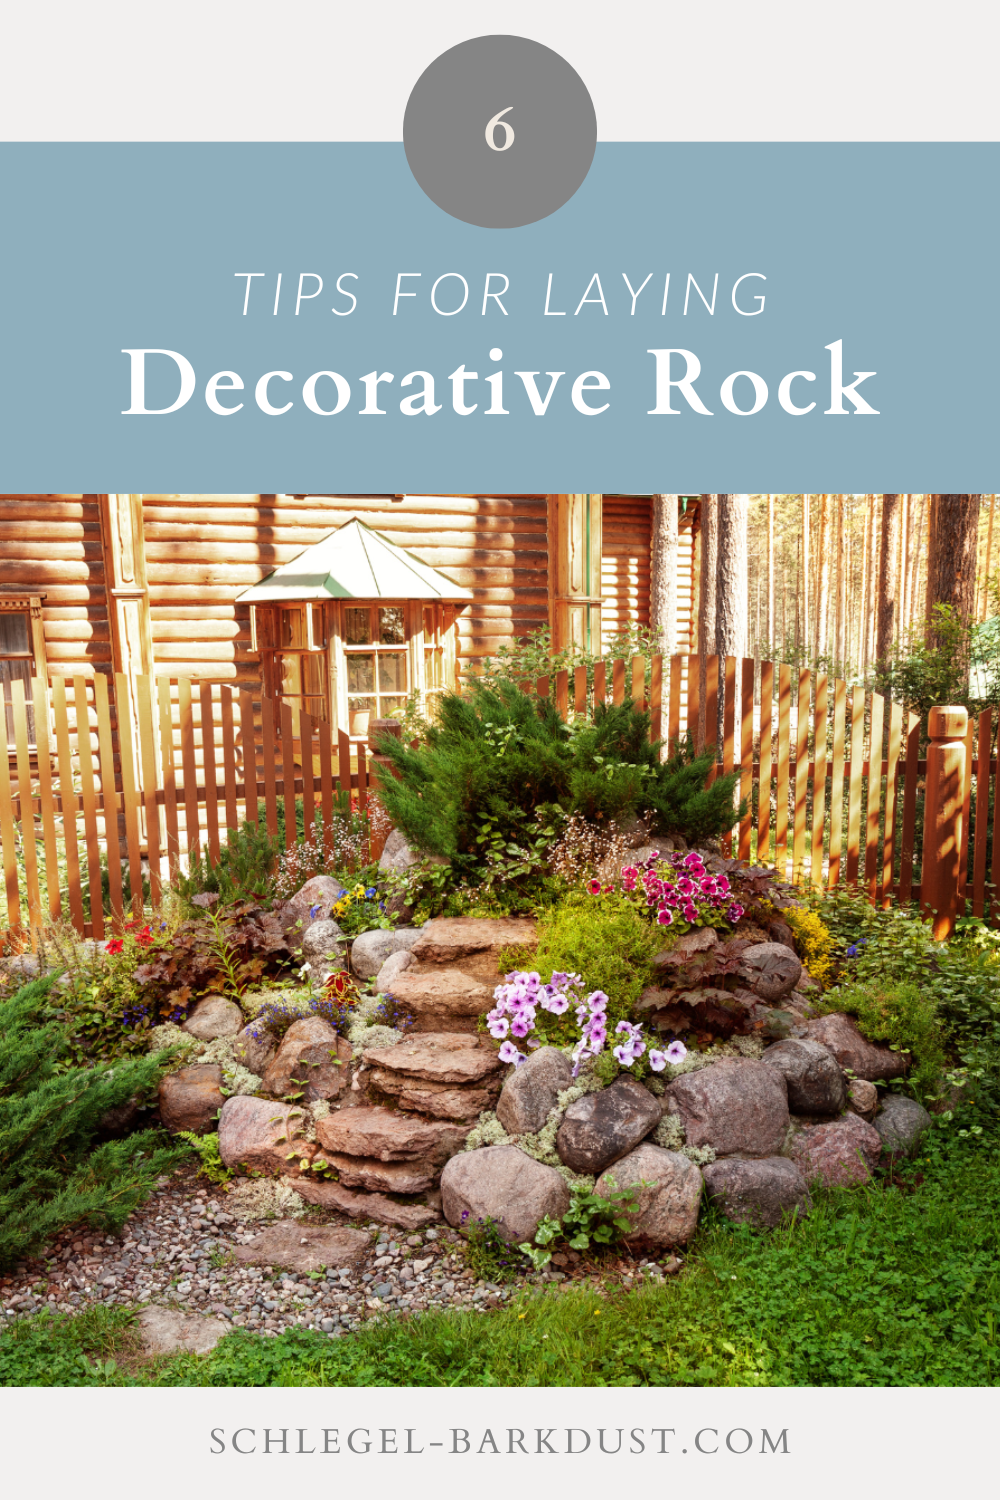
The landscaping around your home is more than just curb appeal—it's the first impression guests receive and a reflection of your personal style. A well-maintained yard not only increases your property’s value but can also boost your mental and physical health by encouraging time spent outdoors. If you're searching for a standout addition to your landscape, decorative rock is a versatile, low-maintenance option that adds both texture and visual interest.
Before you dive into your next DIY landscaping project, it's important to properly prepare your yard—especially your lawn. Follow these steps to ensure a smooth, long-lasting decorative rock installation.
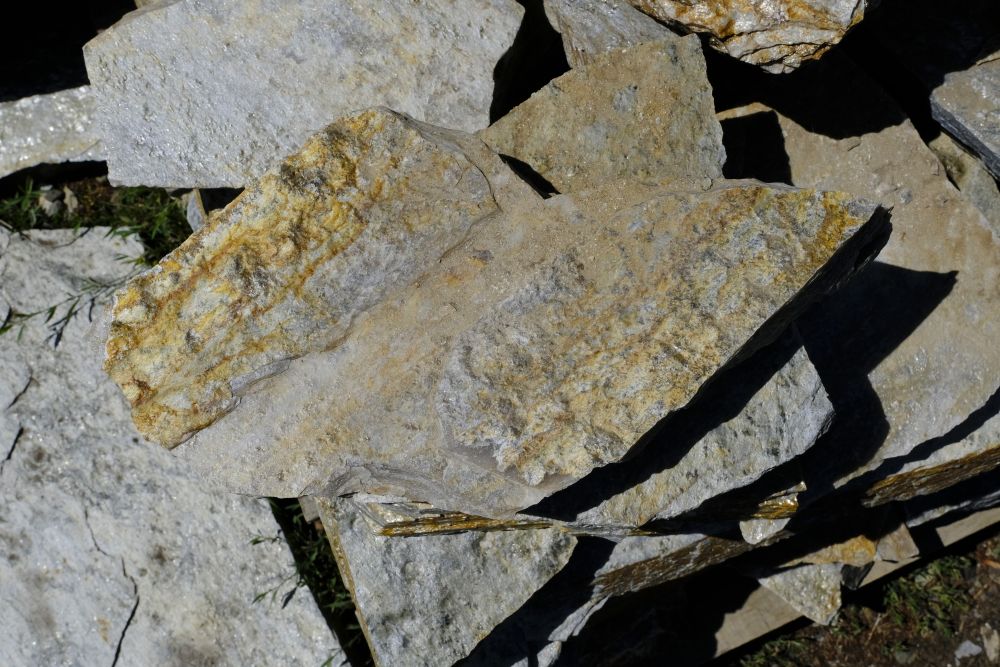
Decorative rock comes in a variety of colors, shapes, and sizes. Whether you're aiming for a natural, rugged look or something more refined, there’s a rock type that suits your vision.
Consider your overall design goals and how each rock type will perform in your specific environment.
This step is essential. Skipping it can lead to an ongoing battle with weeds growing up through your newly installed rock. Start by removing all grass, weeds, and plant roots from the area.
You have two main options for clearing the space:
Whichever method you choose, the goal is to ensure nothing grows up beneath the rocks.

Once the weeds and grass are removed, it's important to ensure the soil underneath is firm and stable. Loose or fluffy soil can settle unevenly over time, creating dips and low spots that disrupt the look and function of your rock design. Using a hand tamper or plate compactor, compress the soil to create a solid base. This step is especially important in high-traffic areas like walkways or patios, where shifting rocks can be a tripping hazard or make the surface uncomfortable to walk on. Even in garden beds and borders, compacting the soil helps your decorative rocks stay neatly in place and prevents erosion caused by wind or rain. Taking a few extra minutes to do this can significantly improve the longevity and appearance of your project.
After clearing the area, install a layer of landscape fabric (such as geotextile) over the exposed soil. This barrier prevents weeds from growing while allowing water to drain through. It also keeps your rocks from sinking into the soil over time.
For additional protection and structure, consider installing rubber edging or metal landscape edging around the perimeter. This helps keep your rock in place during heavy rains and prevents it from spilling into other areas of your yard.
Before installing decorative rocks, evaluate how water drains in the area. Poor drainage can lead to puddling, erosion, or even damage to your home's foundation. You might need to grade the area slightly or install a French drain or dry creek bed underneath the rock layer to encourage proper water flow. Certain rocks, like river rock, can also help with managing runoff if placed strategically.

One of the most common mistakes in landscaping with decorative rock is underestimating the amount needed. Take accurate measurements of your space and use our Materials Calculator to determine how many cubic yards of rock you’ll need. Buying slightly more than you think you need ensures you won’t run short mid-project.
Whether you are installing decorative rocks, or there is another landscaping project you have been waiting to work on, Schlegel will be here to help. We understand it can be difficult to pick up your landscaping supplies, but we provide professional delivery services.
Our team delivers in multiple areas around the west side of the Portland metro area. Depending on the location of the delivery we can provide same-day service. We look forward to bringing you your landscaping supplies such as bark, rock, soil, and sand.