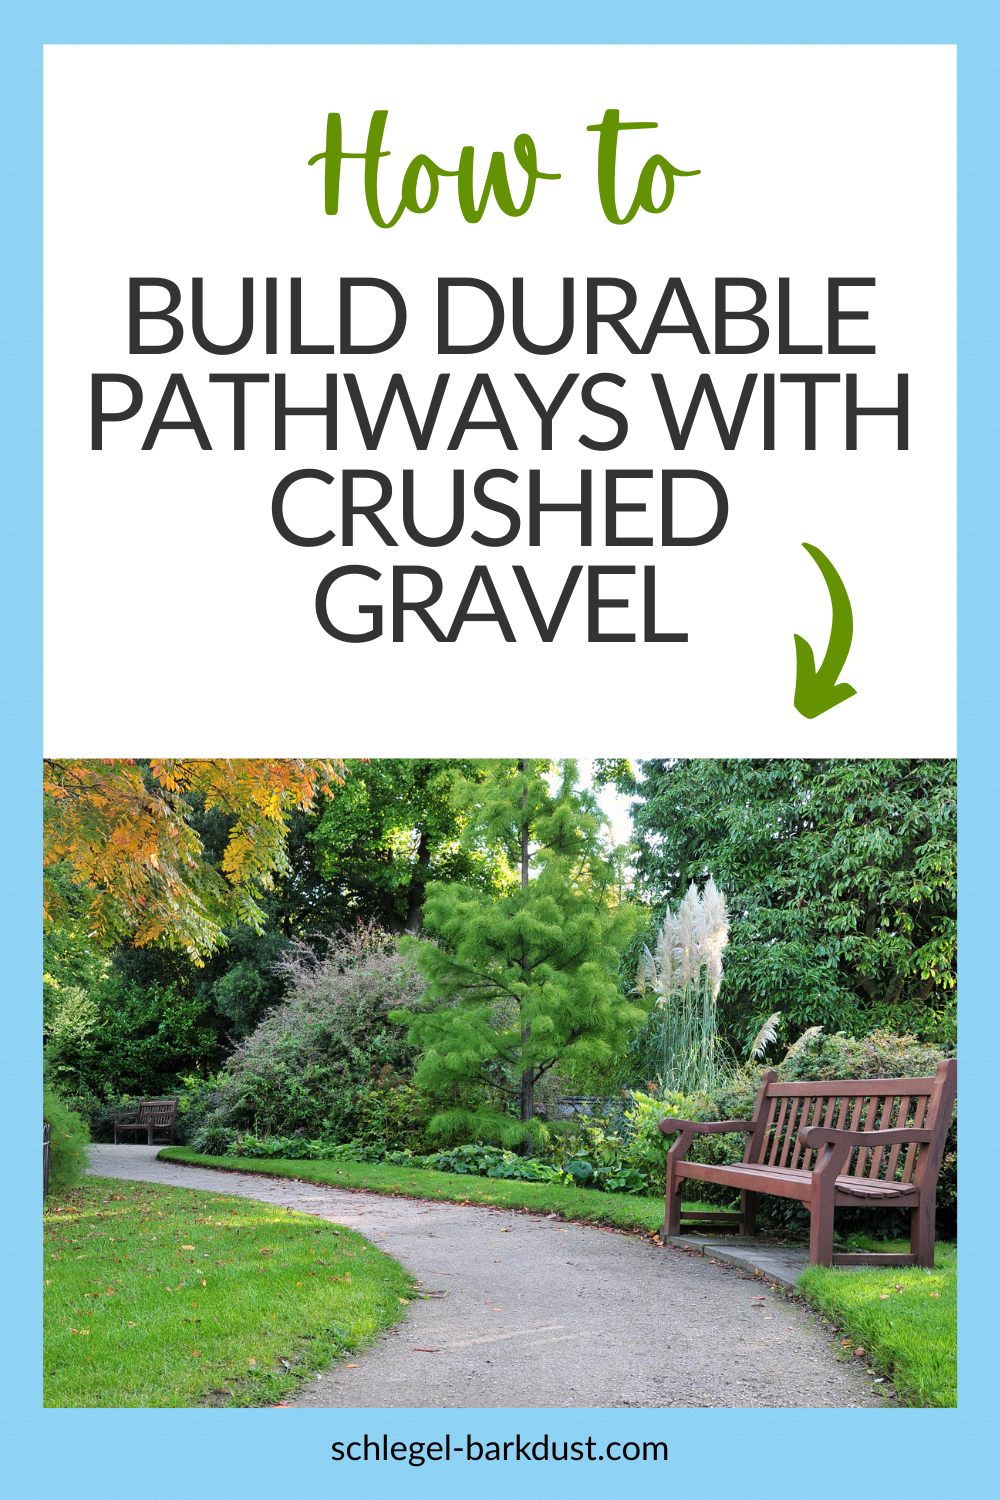
Gravel paths are practical, attractive, and low-maintenance—but not all gravel is created equal. Crushed gravel, with its angular edges and compacting qualities, stands out as one of the best materials for building long-lasting walkways that can handle foot traffic, weather, and time. Whether you're laying a garden path or edging a patio, here's what you need to know to get it right.
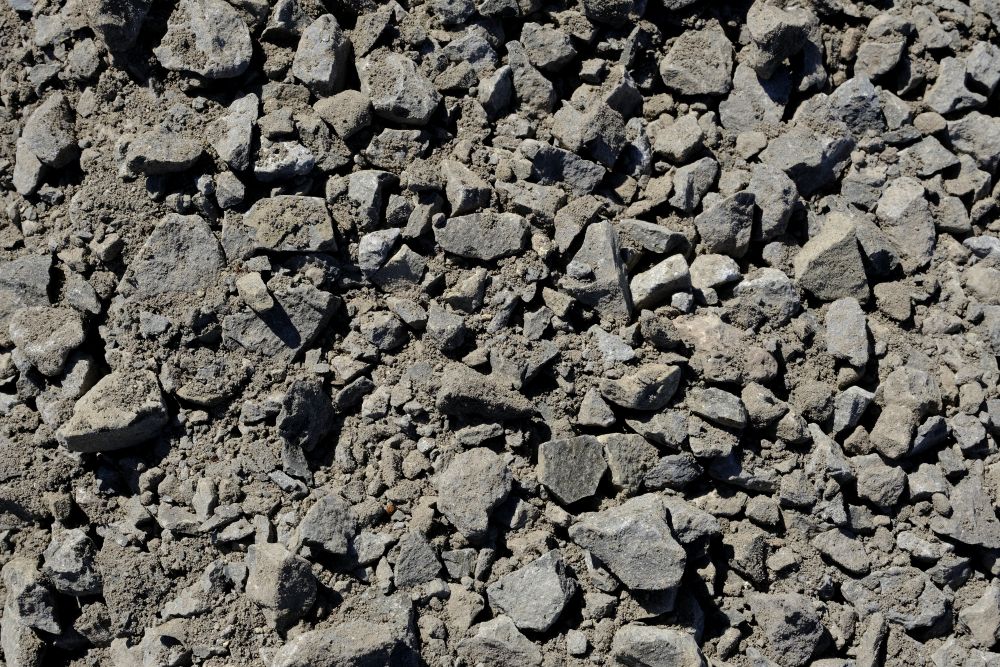
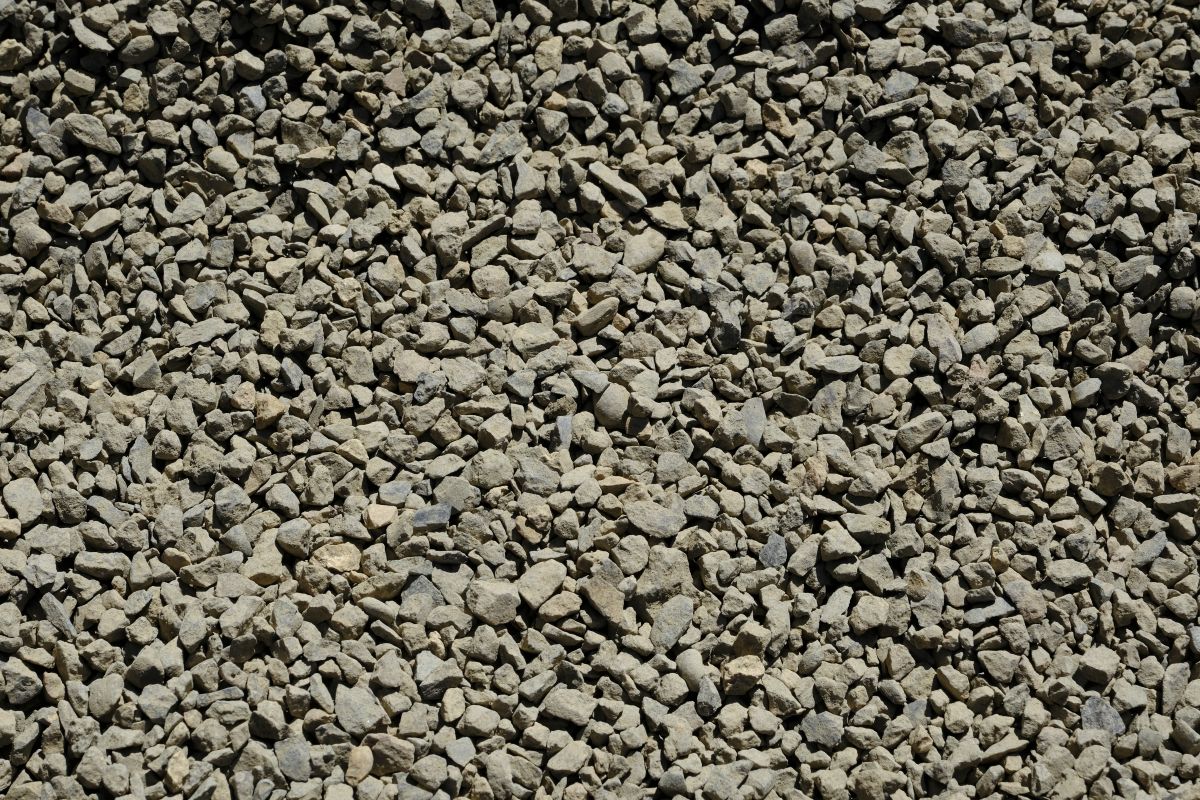
Crushed gravel is made by mechanically breaking down larger rocks into smaller, jagged pieces. Unlike rounded river rock, these sharp edges help the gravel lock together when compacted, creating a firm and stable surface. It comes in various sizes, but 1/4” to 3/4” crushed gravel is typically ideal for pathways.
The angular shape of crushed gravel allows it to compact tightly, creating a surface that’s less likely to shift, rut, or wash out over time.
Gravel allows water to drain through, preventing puddles and reducing runoff. This makes it especially suitable for sloped areas or climates with heavy rainfall.
Crushed gravel is generally more affordable than pavers or poured concrete, both in material cost and installation. It’s also easier to repair or refresh as needed.
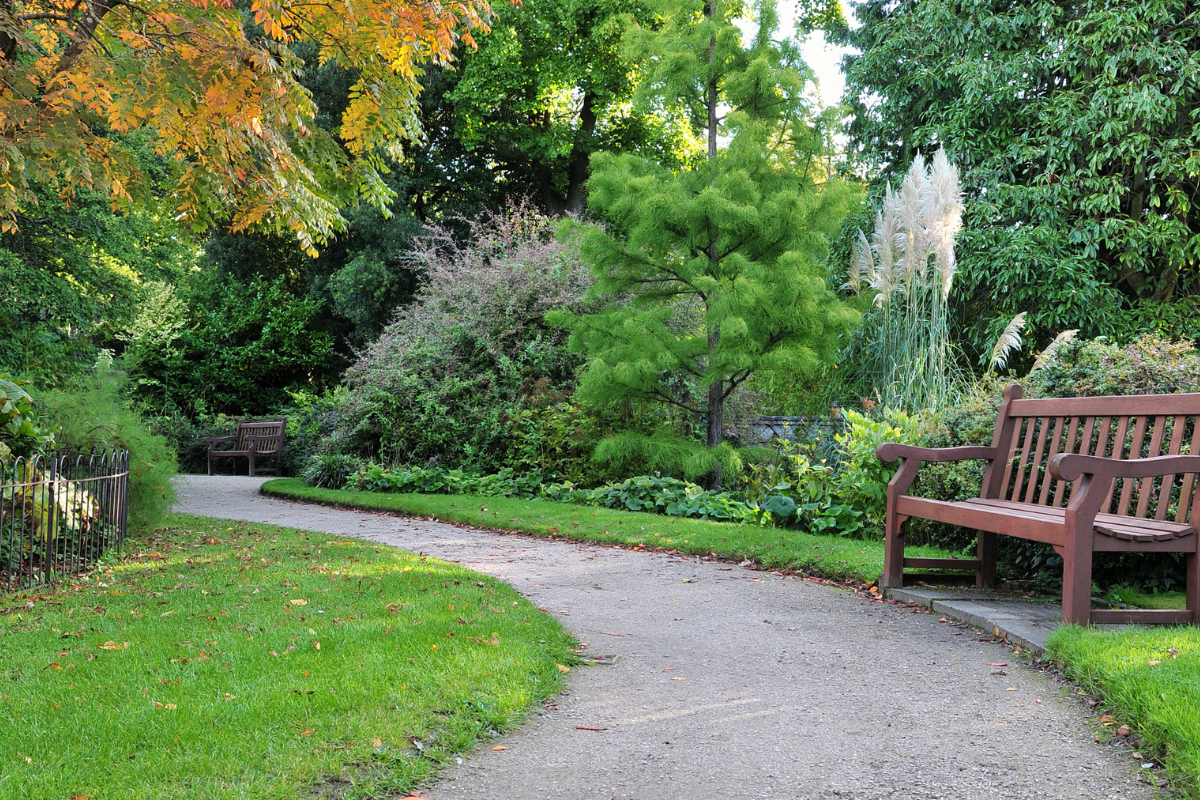
Its earthy tones and texture blend seamlessly into most landscapes, from rustic gardens to more modern designs.

Mark the desired path with stakes and string, then remove any grass or existing materials along the route. A width of 3 feet is typical for garden paths.
Dig to a depth of about 4–6 inches, depending on how much base material you plan to use. Make sure the trench is level and well-graded to encourage drainage.
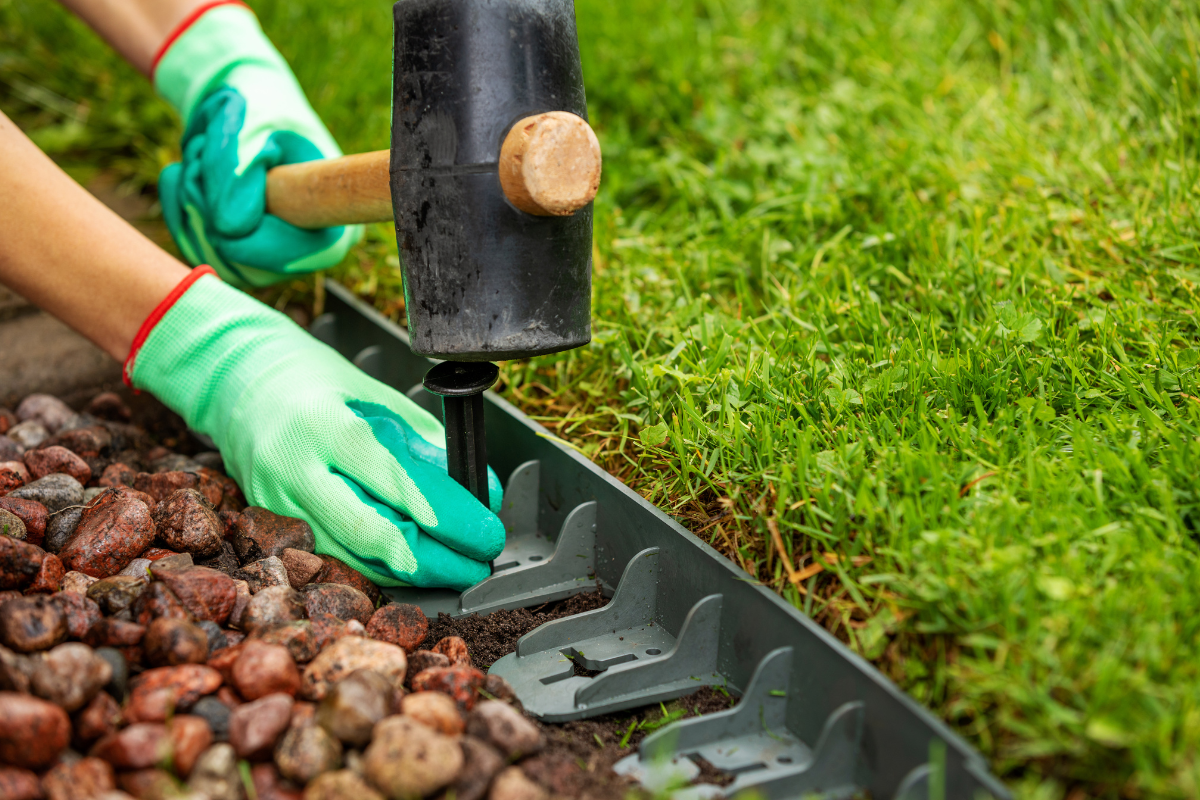
Install landscape edging along both sides of the path to hold the gravel in place and prevent spreading over time. You can use metal, plastic, wood, or stone.
Fill the excavated area with 2–3 inches of crushed rock or gravel base and compact it thoroughly using a tamper or plate compactor.
Add 2–3 inches of finer crushed gravel (like 1/4” or 3/8” minus), and compact it again. Rake the surface smooth and make sure the path slopes slightly to one side to shed water.

Crushed gravel pathways are a durable, budget-friendly solution that fits beautifully into both traditional and modern landscapes. With proper preparation and a little ongoing care, your gravel path can last for many years—offering both form and function in your outdoor space.
Need help choosing the right gravel for your pathway project? Reach out to our team or stop by our yard to see your options in person!